Canva Lesson Plan

From infographics to multimedia video presentations, Canva is a dynamic, interactive, and fun way to create and design. It offers a host of design options, tools, and features that can be used to enhance teaching and learning experiences for students and teachers alike.
In addition to being used to present content to students, Canva can be used as an engagement tool by which students can demonstrate what they have learned in any subject area. For an overview of Canva, check out What is Canva and How Does It Work? Tips & Tricks.
While what follows below is a sample science lesson plan that is focused on biodiversity, Canva can be used for any subject, topic, or grade level to teach content and for students to demonstrate their learning.
Subject: Science
Topic: Biodiversity
Grade Band: Middle/High School
Learning Objectives:
At the end of the lesson, students will be able to:
Describe the three types of biodiversity including ecosystem diversity, genetic diversity, and species diversity
Create a multimedia representation demonstrating a comprehensive understanding of one of the three types of biodiversity
Setting Up the Canva Lesson
Once you log into Canva, create a class space through Canva for Education that will serve as the central online area where all of your students’ work on Canva can be housed. The class space will also allow you to review students' work, provide feedback as needed, and manage access to content. Don’t worry about having students type in the Canva URL in an external web browser to access their work. Several LMS platforms such as Google Classroom or even popular online shared spaces used in education such as Microsoft Teams directly integrate into Canva, so students do not have to leave their school’s online ecosystems. You can check your eligibility to access Canva for Education, which offers free education services and based on your current K-12 teaching position.
Guided Instruction
Create a lesson video walking students through each type of biodiversity (ecosystem diversity, genetic diversity, and species diversity), while leveraging and illustrating different features of Canva. Start by choosing one of the hundred of thousands presentation templates. Canva allows for easy drag-and-drop creation, and you can edit each slide and text easily. Use the Elements tab to add a wide variety of graphics, photos, videos, tables, charts, and shapes.
For example, put in the word “species” in the search box for content related to the species diversity slides, and hundreds of results related to species will appear. You can refine the search results, so don’t be overwhelmed. You can then narrow down the results by type, for instance, maybe you only want to see the videos or graphics related to species.
To further enhance your slides, use the Upload tab to upload media files or record over the slides and provide more detail.
Guided Practice and Canva Creation
After students have engaged with and completed the Canva presentation, have them choose one type of biodiversity to focus on, and have them prepare a multimedia representation that demonstrates their comprehensive understanding.
Students can choose from any of the Canva template options including: an Infographic, Pamphlet, Poster, or Slide Show. While each project will be different, you can require students to use at least five different types of media to ensure that they benefit from all that Canva has to offer. You may have other requirements depending on the grade level too. For example, you may want students to include at least one video and include links to additional resources.
Canva will automatically save students’ work, so they can work on it during class or at home, and will not need to save anything on an external drive.
What if Students Do Not Know Where to Start?
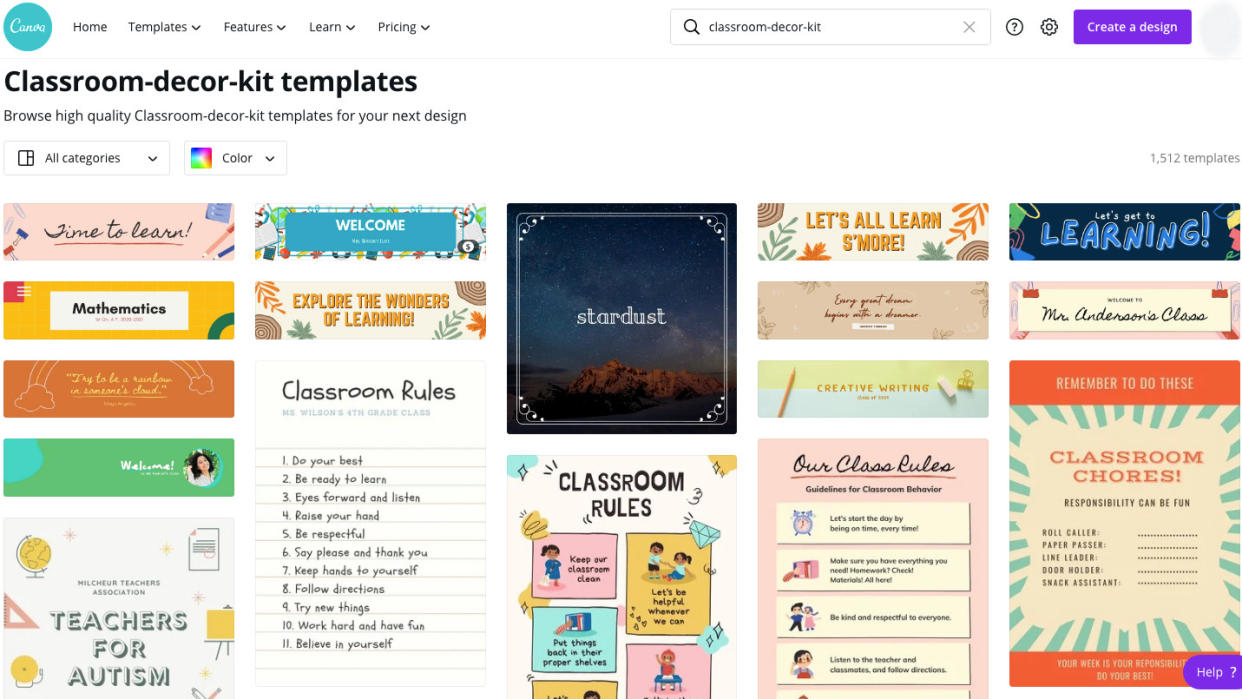
One of the most amazing features of Canva is the incredible variety of templates available. Choosing a template can be fun, but also overwhelming. Have students first choose the type of multimedia representation they will focus on to help limit the number of options available.
What if Students Are Working in Teams?
Canva offers a team option in which your students will have the ability to work together on a shared project. There are also additional opportunities to collaborate in the shared class spaces.
How Can Students Share Their Work?
By using the “Present” or “Share” tabs at the upper right-hand corner of the Canva screen, students will have many sharing options, including being able to download final projects, have it appear on a website, export it to social media, and even print a high-quality version.
It is an exciting time to try out Canva for a similar lesson or a different one. With so many design and creation options, there is bound to be at least one option that your students can connect with, engage more deeply with content, and show you what they learned.
