Transform Your Kids' Old Crayons Into Fun Shapes With This Easy DIY

Click here to read the full article.
Do you have kids? Were you ever a kid? (Hi, yes, that’s all of you). Chances are there’s a stash of old broken-up crayons hidden somewhere in your house among the more respectable art supplies. Maybe they’ve been stepped on or melted, or maybe coloring just isn’t something you or your kids do very often. It can be tempting to just toss them out, but we have a better idea: Reincarnate them! This easy, kid-friendly DIY has all the steps you need.

It’s easy (and, you know, good for the planet) to repurpose your crayons into super-fun shapes; all it takes is a $1 ice cube mold from Ikea. This DIY is a huge hit with kids, and it’s a great opportunity to breathe new life into all those misfit crayons. Plus, it’s super inexpensive to do.
Here’s how to get started.
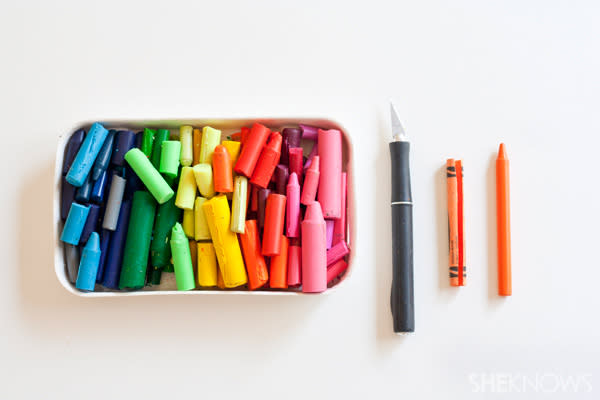
Supplies:
Crayons
Flexible molds/ice cube trays
X-Acto knife
Cookie sheet
Directions:
Step 1
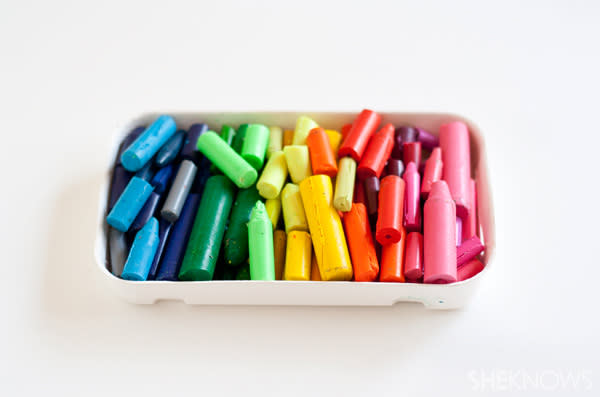
Preheat the oven to 200 degrees F. Next, peel the paper wrappers from each crayon. Running the blade of an X-Acto knife down the length of the wrapper will help this step go quickly.
Step 2
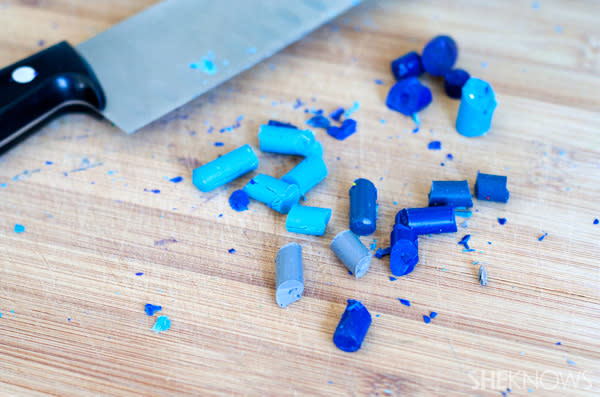
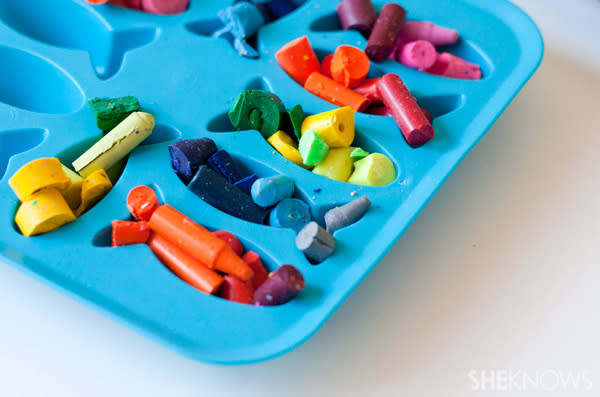
Break the crayons into pieces. Smaller bits will melt more quickly in the oven and will therefore have less time to run and bleed into neighboring colors. Use a kitchen knife to cut pieces down to about 1/2 inch.
Step 3
Fill molds with crayon pieces. I wanted my crayons to have an ombré look, so I grouped similar colors together, graduating from dark to light, but rainbow crayons would be fun too.
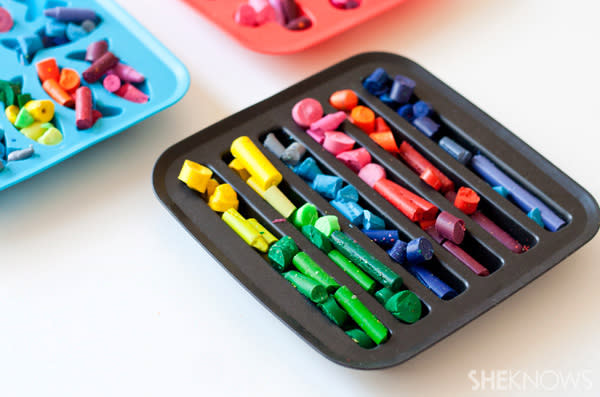
Make sure to just slightly overfill each mold, as the crayons will melt down and take up less space.
Step 4
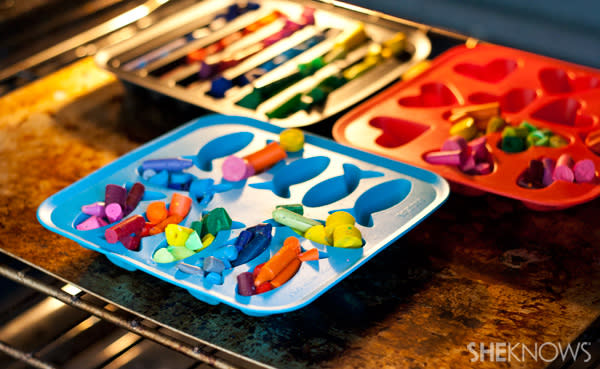
Place the molds on a cookie sheet and bake them in the oven for 10 to 15 minutes or until the crayons are completely melted.
Step 5
Very carefully, so as to not spill any melted crayon, remove the cookie sheet from the oven.

Step 6
As the crayons cool, they will harden. To speed up the process, transfer the molds into the freezer after the crayons firm up.
Step 7
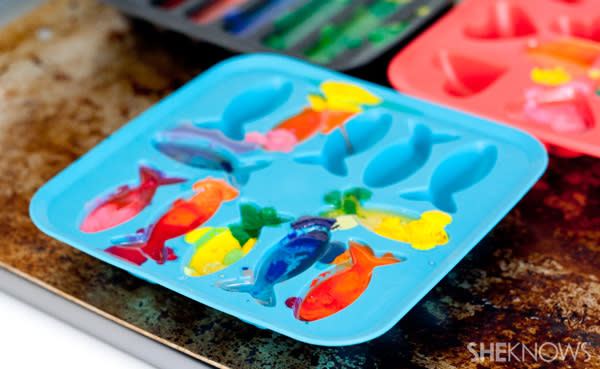
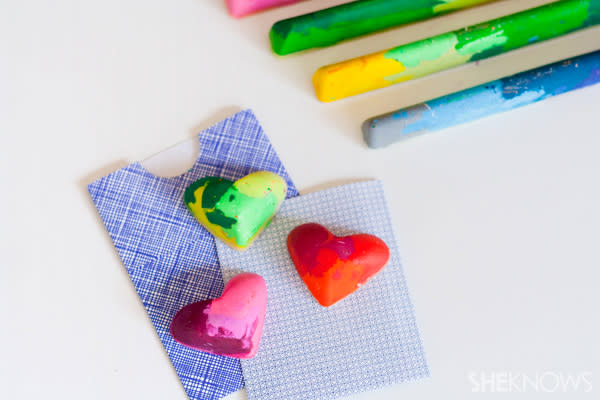
After about 30 minutes, remove the molds from the freezer. If the bottoms of the mold are cool, you can release the crayons from the mold by first gently pulling and stretching the molds to loosen up the crayons and then pushing each crayon up and out from the bottom. If the molds are still warm to the touch, return them to the freezer and check again in 10 minutes.
A version of this article was originally published in December 2012.
For more family craft goodness, check out these kid-friendly gift wrap DIYs.
Launch Gallery: These Kid-Friendly Gift Wrap DIYs Will Make Gifts Shine
More from SheKnows
How to DIY an Easter Basket So Cool Your Kids Won't Believe You Made It
Kid-Friendly Organization DIYs to Make Your Home a Mess-Free Haven
Best of SheKnows
Sign up for SheKnows' Newsletter. For the latest news, follow us on Facebook, Twitter, and Instagram.
