For the Meltiest Grilled Cheese, Start With a Cold Pan
You don't have to wait for your pan to get hot.

Simply Recipes / Getty Images
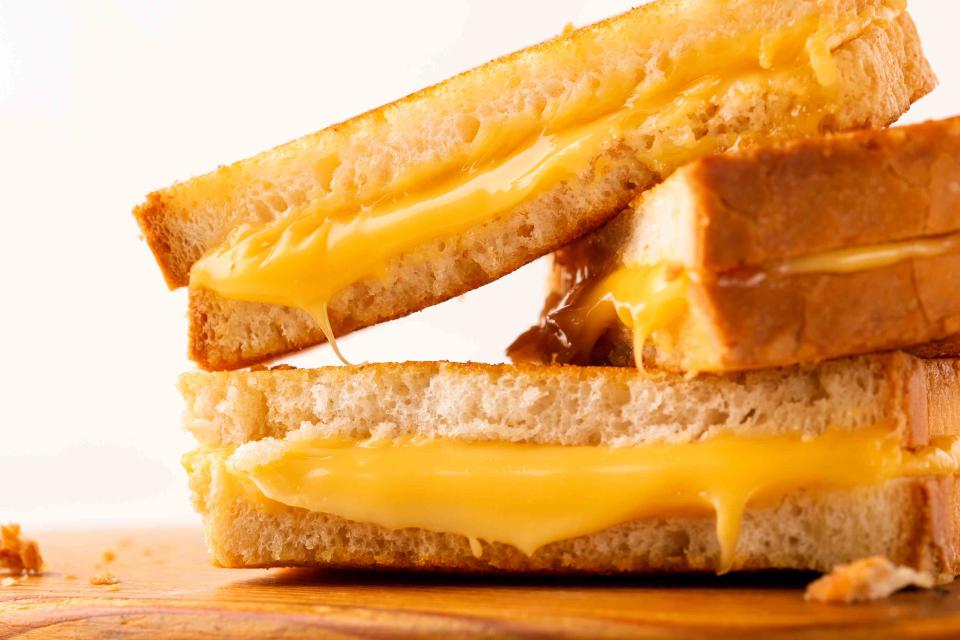
Golden brown and crisp on the outside but creamy and gooey on the inside, grilled cheese is one of the best sandwiches to enjoy at home. You can make grilled cheeses as a quick lunch or snack or partner them with soup and salad as a filling dinner. There are also endless combinations for grilled cheese—classic white bread with American cheese or hearty rye bread with sharp cheddar, grainy mustard, and apples.
One problem facing every grilled cheese maker? Timing! It can be challenging to get the cheese melted before both sides of the bread are properly toasted.
While there are some tricks to get these two tasks synchronized—grating the cheese, as one example—nothing I have tried works better than this unconventional method: Start your grilled cheese in a cold pan rather than a preheated one.

Simply Recipes / Alison Bickel
How To Make the Meltiest Grilled Cheese Ever
Getting the perfect grilled cheese is all about timing: you want the bread to brown and crisp, and the cheese must be melted to gooey perfection. Starting in a cold pan means the bread heats, melting the cheese before it browns, giving both parts of this perfect whole time to do their thing.
Start by choosing your heaviest bottom skillet. I like cast iron but stainless steel and non-stick work well too. Put it on the stovetop but don’t heat it quite yet.
Slice your bread, if needed. Ideally, the bread is about a finger-width thick like most commercially sliced bread. Grate your cheeses and toss them together in a bowl if you’re using more than one type. This is also a good time to gather any extras—apple slices, pickled jalape?os, or grainy mustard.
When you build your sandwiches, coat just one side of each bread slice with room-temperature butter. You can build your sandwiches on your cutting board, but you may find that a bit awkward, especially with buttered bread and loose grated cheese.
Tip
Skip the mayo for the outside of your bread—inside your sandwich is fine. Mayo will burn using this method.
Instead, sprinkle your cold pan with salt and then add one slice of bread, butter side down, then build your sandwich on top of that, sprinkling on the cheese and layering on any extras before topping with another slice of bread, butter side up. Don’t forget to season the top piece of bread with salt too!
You can certainly cook more than one sandwich in the pan at a time depending on your pan’s size. Two sandwiches fit well in my favorite cast iron.
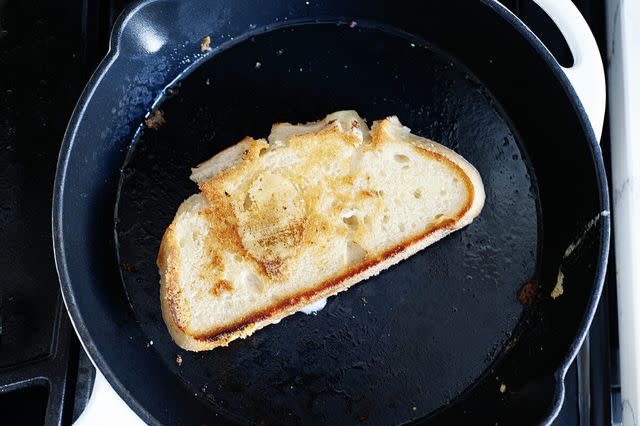
Only once you’ve got your sandwiches in the pan, it is time to turn on the heat. Start with medium heat to get the bread warming and the cheese melting. As the pan heats, you’ll smell the butter and cheese melting before you hear the telltale sizzle of crisping bread. For most stovetops, it will take the first side five to seven minutes to go from cold and buttered to crispy and brown. Use a thin flat spatula to flip onto the other side and cook for four to five minutes.
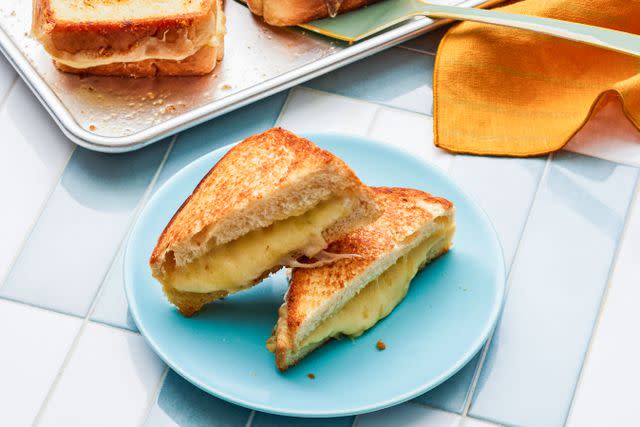
Move your grilled cheeses to a cutting board and season again with a little salt, slice, and enjoy immediately. If you need more than a couple of grilled cheeses at a time, you might consider the sheet pan method or you’ll want to cool your skillet for about 10 minutes off the burner before starting round two.
This cold pan start is bound to give you the best grilled cheese—melted cheese meets crisp bread at the exact right time—with just a little bit of patience.

Simply Recipes / Photo by Victor Protasio / Food Styling by Ruth Blackburn / Prop Styling by Claire Spollen
Read the original article on Simply Recipes.
