How to Fix a Crack in Glass

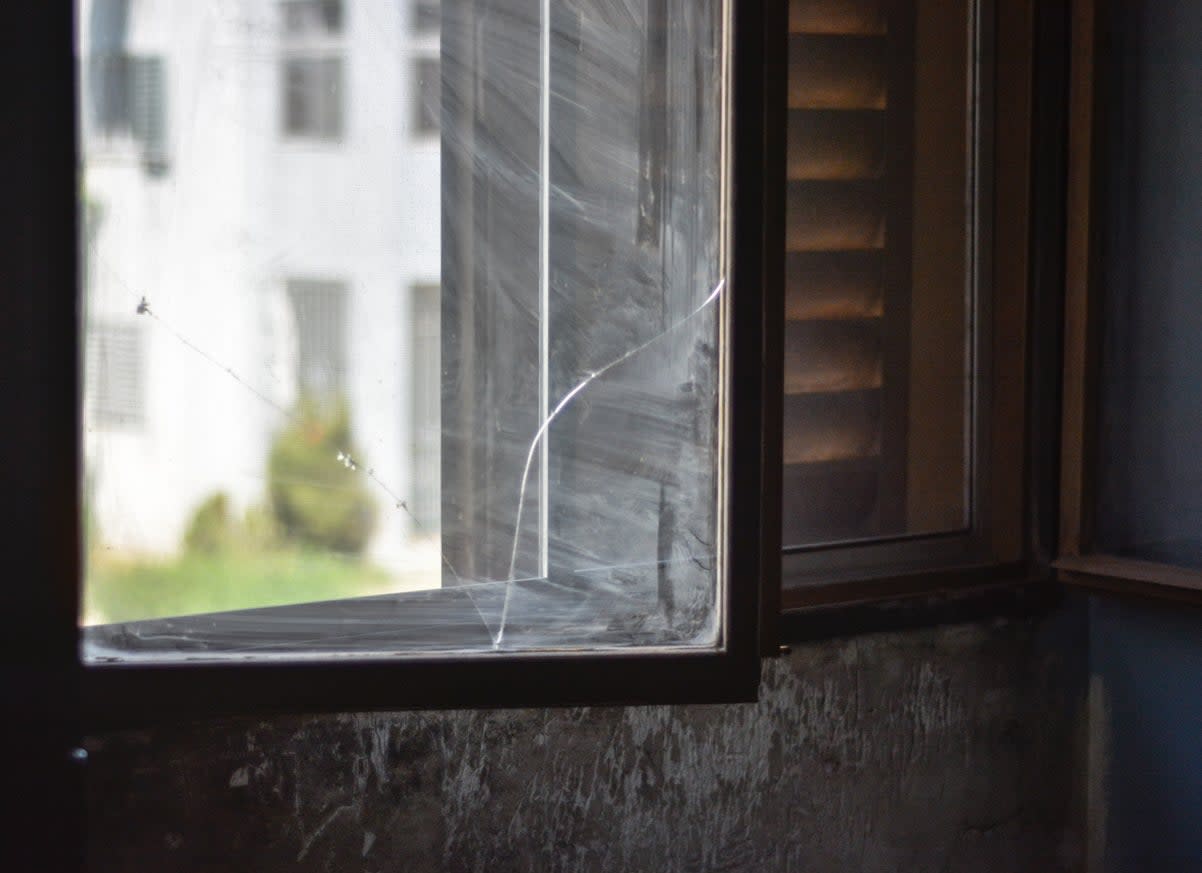
A pebble from the lawnmower that flies against a window. A drink set down too heavily on your glass-topped coffee table. A favorite vase tipped over by your curious cat: These are the types of scenarios that can lead to a crack in glass around the home. The bad news is that glass that has broken into pieces or has cracks larger than an inch, as well as double-paned glass with a hole through both panes, is pretty much beyond repair.
The good news is that you can fix small cracks in glass yourself with little more than a steady hand and a few basic supplies. The catch is that you’ll need to fix a crack in glass as soon as you notice it, because small ones can grow into larger breaks if they're exposed to moisture, temperature swings, dirt, or rough handling.
Project Overview
Working Time: 25 to 30 minutes
Total Time: 24 hours (including time for curing)
Skill Level: Beginner
Estimated Cost: $5 to $30
Before You Begin
It’s important to note that the following guide on how to repair a crack in glass will do the job for single-pane glass household items only. This includes tabletops, shower doors, vases, and single-pane windows, as well as double-pane windows with a crack in only one of the panes. It’s not intended for repairing a cracked car windshield, which requires a syringe to inject resin into the crack and a plunger to maintain the vacuum between the windshield’s layers of glass. While you can fix a cracked mirror with this technique, the reflection is bound to show the repair a bit more than on regular glass. You’ll get best results with a minor crack on the sides of a mirror, out of the direct line of vision.
Don’t forget to don your protective gear—gloves and safety goggles—before you get started.
RELATED: 13 Ways Decorating With Mirrors Can Transform Your Space
Types of Cracked Glass That You Can Repair Yourself
Tabletops
Vases
Single-pane windows, and double-pane windows with a crack in only one of the panes
How to Repair Cracked Glass
Fixing cracked glass may seem like a daunting task because of the potential for injury, but the fix itself is pretty simple, provided you can work quickly before the epoxy hardens.
Step 1: Clean the glass with dish soap.
Wash the glass around the crack with a drop or two of dishwashing soap on a damp cloth. You’ll want to remove any dust, oil, and fingerprints, and then wipe the spot with a clean damp cloth to remove the soap residue. Let the glass dry completely.
Step 2: Mix the two-part epoxy.

Photo: Amazon.com
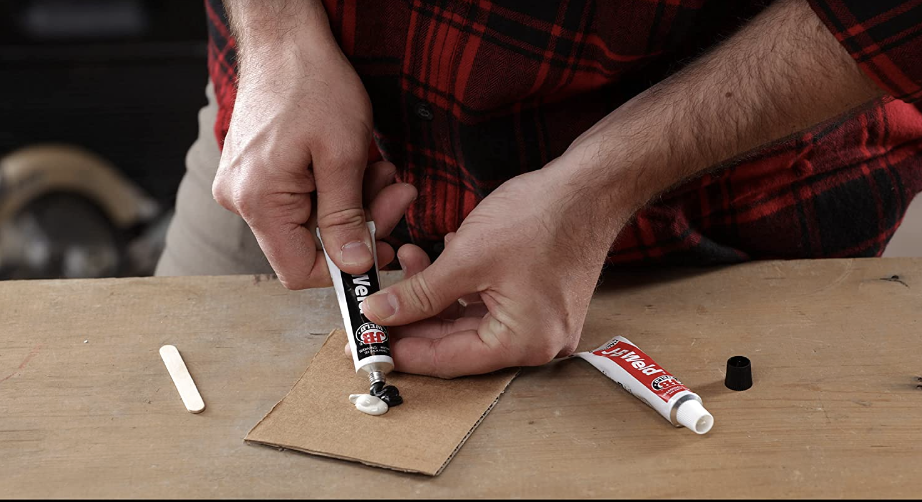
In a well-ventilated area, prepare a two-part epoxy on a piece of cardboard or a disposable plate. These adhesives (which can be found in many craft stores or home improvement centers) have a separate resin and hardener that are mixed together at the time of use.
RELATED: The Right Glue for Every Repair Job
The mixture is typically a 50/50 blend of resin and hardener, but be sure to follow the directions on the specific product you’re using. Use a toothpick to mix the epoxy for at least 20 seconds. Once the epoxy is mixed, be ready to use it immediately, as it will quickly thicken and harden. Generally, you’ll have 5 to 10 minutes of working time before the epoxy is too thick to seep into the crack.
Step 3: Apply the epoxy to the crack in the glass using a putty knife.
Press the epoxy over and into the crack with a putty knife. Work the adhesive back and forth across the crack, gently pressing it into the damaged area. Let the epoxy cure for at least five minutes.
RELATED: How to Cut Glass
Step 4: Remove excess epoxy with a razor blade and let the epoxy in the crack cure.
Scrape away excess epoxy with a razor blade, and then wipe the area with a clean rag moistened with acetone to further remove epoxy that’s raised above the crack. Let the repaired glass cure for 24 hours.
Step 5: Spiff up the surface with a glass cleaner.

Photo: istockphoto.com
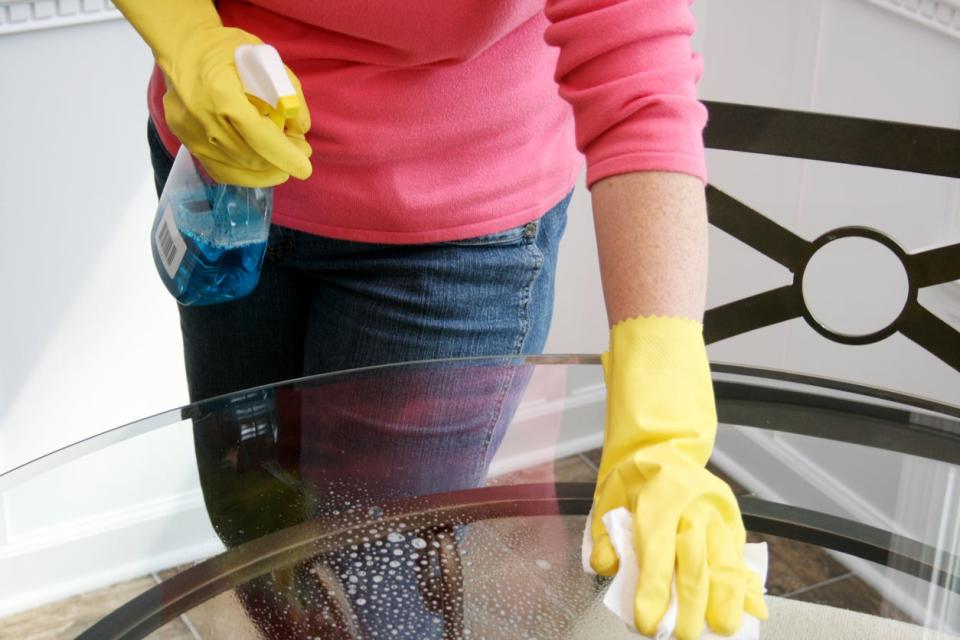
Polish the glass with a clean rag and glass cleaner.
Final Thoughts
Replacing small cracks in glass is a manageable do-it-yourself project with the right tools and precautions. By following these simple steps, you can save time and money on professional glass repair services. Always remember to prioritize safety when attempting to repair glass yourself: Wear protective gear and handle glass carefully to avoid cutting yourself. If you encounter large cracks that require glass replacement, we recommend contacting a local repair company to ensure a seamless and secure outcome.
FAQs
Still squeamish about the idea of fixing cracked glass? Here’s a little more information about the types of cracks, and the types of glass, that can be repaired successfully.
Q: What types of glass cracks can be repaired?
Small, superficial cracks in glass that are typically hairline cracks or cracks that haven’t spread can be repaired. Note: It's always important to assess the situation carefully and, if in doubt, consult a professional glass repair service for guidance.
Q: Can you repair windshield glass?
We don’t recommend repairing windshield cracks yourself (repairing windshield chips is doable, however, depending on the size of the chip). Windshields often sustain more severe damage than regular glass, like deep cracks, large chips, or multiple fractures, and repairing these complex issues properly requires professional equipment that may not be readily available for DIY repairs.
Q: How can you stop a crack from spreading?
To stop a crack from spreading, you’ll want to avoid extreme temperature changes. The glass can expand, contract, and crack.
Q: Will the repaired crack be completely invisible?
While some repair methods claim to make a repaired crack nearly vanish, you should have realistic expectations. Small cracks can still be slightly visible after repair, especially if they were deep or extensive. However, repairing a small crack will prevent it from spreading any further.
