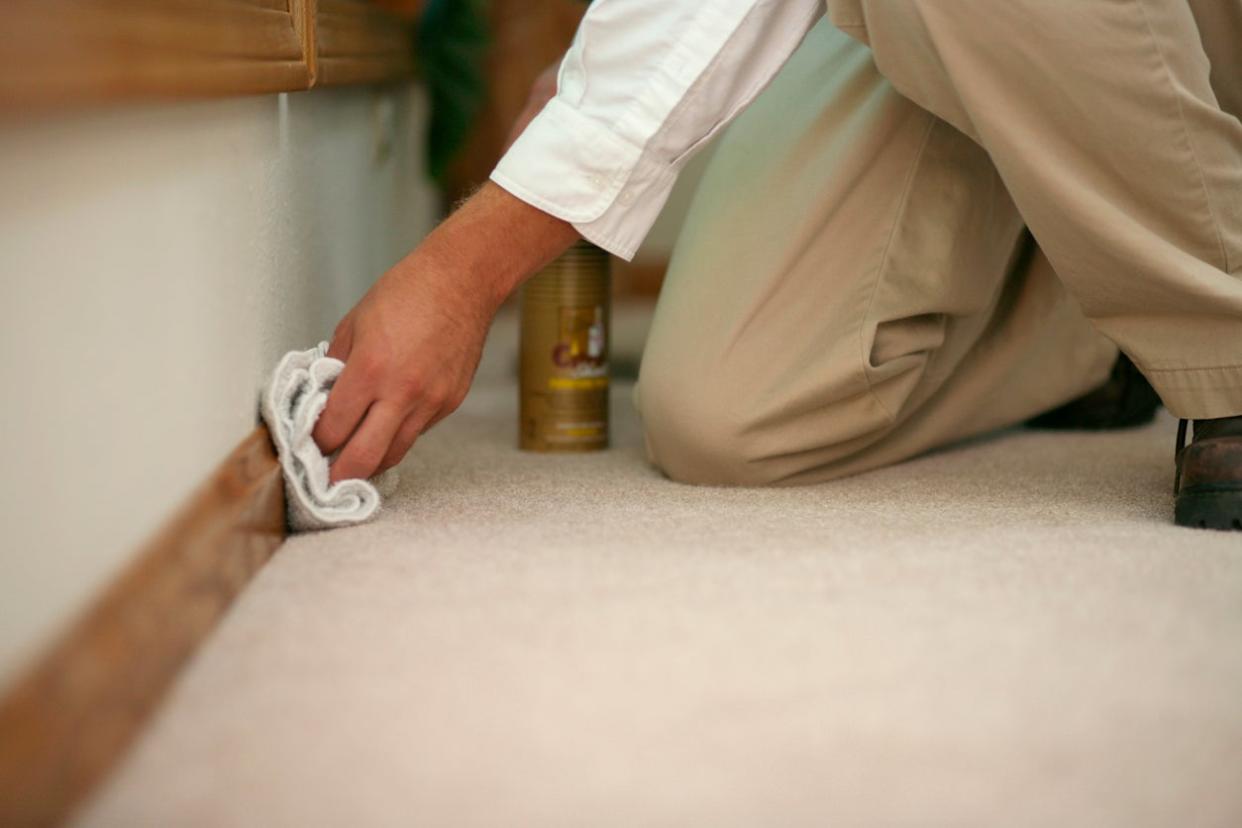
How to Clean Baseboards

Even if you spend hours washing the floor, dusting furniture, and vacuuming the nooks and crannies around your home, your home isn’t really clean until you attend to the grime, dust, and pet hair that has accumulated on the baseboards. Cleaning the trim around the floors in your home should be done at least seasonally. Because vacuuming, mopping, and other household chores stir up dust, you’ll want to save the baseboards for last if you don’t want to clean your baseboards twice.
Before You Begin

Photo: istockphoto.com
If you're doing an extra-thorough baseboard cleaning job, you'll want to move furniture around so you can reach all of the baseboard surfaces. Make a plan for moving the furniture safely, and grab a helper if necessary. While pushing tall furniture out of the way, take care with wall hangings so you don't accidentally knock them off the wall.
For a lighter cleaning, there's no need to move furniture, but be sure to check for visible grime wherever the baseboard heads behind a piece of furniture. If you can see the dirt, everyone else can too.
Step 1: Vacuum the area.

Photo: istockphoto.com
Begin the process by removing as much dust and dirt as you can from the area. If your vacuum has a brush attachment, use it to suction along the length of the baseboards. Pay special attention to the crevice where the trim meets the floor. In lieu of a vacuum, you can rely on a duster or dust rag to do a decent job of freeing up debris, which you can then corral and remove with a broom and dustpan.
RELATED: How to Install Baseboard Trim
Step 2: Wipe down the baseboards.

Photo: istockphoto.com
Once you’ve removed all loose dirt and dust, you can begin to address stains and stuck-on grime. (Particularly in the kitchen, baseboards are the notorious hosts of unidentifiable splatters.)
Dip a sponge or rag into a mixture of warm water and dish soap (vinegar works well too), then go about scrubbing any marks that you can find. Alternatively, consider using a Mr. Clean Magic Eraser. If you’re in a hurry, you can just run a baby wipe over the trim. Note that if the baseboards are stained, not painted, it may be better to use a cleaning solution formulated specifically for that application.
Step 3: Clean the crevices.
We know a good trick to cleaning baseboards in those hard-to-reach-spots, like the crevice between the trim and flooring. Just grab a cotton swab from the bathroom and dip it in the cleaning solution, gently wiping away the dirt. The swab is small enough to fit into those tight spaces and corners, and absorbent enough for cleaning. A toothbrush can also come in handy for getting gunk out of crevices and corners, and it’s particularly good at loosening dirt stuck to the caulk.
Step 4: Rub the baseboard with a dryer sheet.

Photo: prohousekeepers.com
Once the baseboards are clean, here’s how to keep them dust- and hair-free: Rub them with a dryer sheet. Not only will this leave a fresh scent that lasts a few days, but the sheet’s antistatic properties also repel dust.
Baseboard Cleaning Tips

Photo: istockphoto.com
Clean your baseboards about once a month.
If your baseboards are particularly dusty, you may need to run the vacuum or a broom over the surrounding floors a second time after your baseboard cleaning.
If moving heavy furniture isn’t feasible in your situation, try using a duster on a long handle to reach behind it. Some duster kits come with extension poles that are ideal for this purpose.
As always, consider the environment when cleaning your home, choosing nontoxic products when possible.
Final Thoughts
Even if your baseboards are so grimy that you’re tempted to tear them out and replace them at any cost, there’s really no need for such drastic measures. While cleaning baseboards isn’t the most enjoyable task, with the tools mentioned above plus a little elbow grease, your trim will look as good as new.
